DIY Installation Tips for LED Medicine Cabinets and Mirrors
Installing LED medicine cabinets and mirrors can significantly enhance the look and functionality of your bathroom. If you’re considering a DIY installation, here are some essential tips to help you achieve professional results and avoid common pitfalls.
1. Gather the Necessary Tools and Materials
Before you begin, make sure you have all the tools and materials you’ll need. This typically includes:
- A level
- A measuring tape
- A drill and appropriate drill bits
- Wall anchors and screws
- A screwdriver
- A pencil
- A stud finder
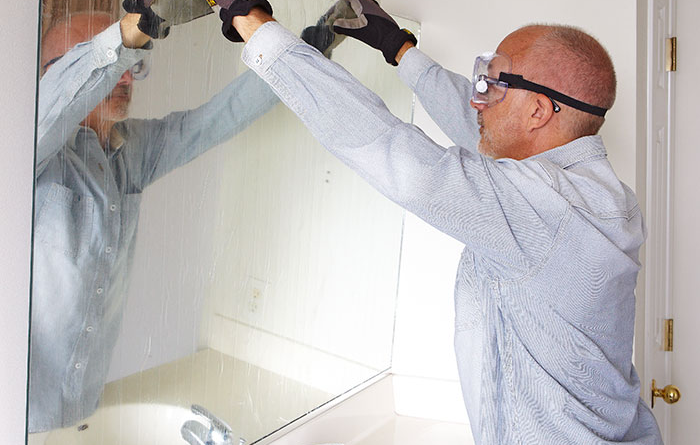
- Safety goggles and gloves
2. Choose the Right Location
Selecting the right location for your LED medicine cabinet or mirror is crucial. Consider factors such as:
- Proximity to power sources for LED lighting.
- Height and positioning for optimal use.
- Stud locations for secure mounting.
Use a stud finder to locate the studs in your wall, as mounting into studs will provide the most secure installation.
3. Measure and Mark
Accurate measurements are key to a successful installation. Measure the dimensions of your LED cabinet or mirror and mark the wall where you plan to install it. Use a level to ensure that your marks are straight. Double-check all measurements before proceeding to avoid mistakes.
4. Install Wall Anchors
If you’re unable to mount the cabinet or mirror directly into studs, you’ll need to use wall anchors. Drill pilot holes at your marked locations and insert the wall anchors. These will provide the necessary support for your installation.
5. Attach the Mounting Bracket
Most LED medicine cabinets and mirrors come with a mounting bracket. Secure the bracket to the wall using screws, making sure it is level. Tighten the screws firmly to ensure the bracket is securely attached.
6. Electrical Connections
For LED mirrors or cabinets with built-in lighting, you’ll need to make electrical connections. Ensure the power is turned off at the circuit breaker before beginning this step. Connect the wires from the LED fixture to the corresponding wires in your wall using wire nuts. It’s often a good idea to consult with or hire a licensed electrician to handle this step if you’re not comfortable working with electrical wiring.
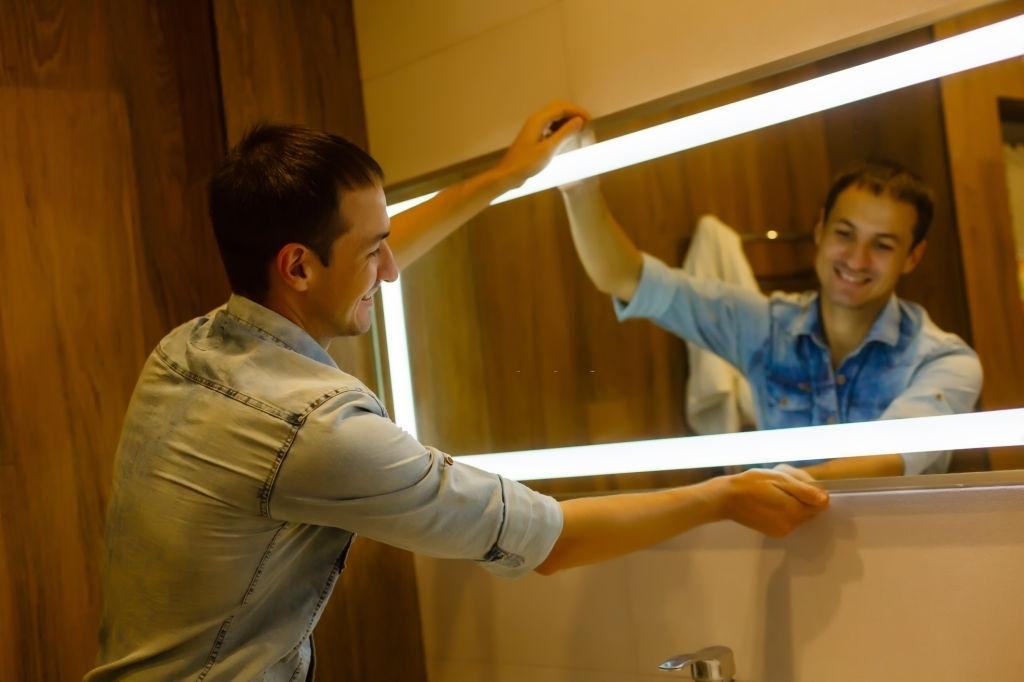
7. Mount the Cabinet or Mirror
Once the bracket is securely attached and electrical connections are made, you can mount the cabinet or mirror onto the bracket. Follow the manufacturer’s instructions carefully to ensure proper alignment and secure attachment. Some models may require additional screws or support brackets.
8. Final Adjustments and Testing
After mounting, make any final adjustments to ensure the cabinet or mirror is level and properly aligned. If your fixture includes LED lighting, turn the power back on and test the lights to make sure everything is working correctly. Adjust the brightness settings if applicable.
9. Secure Doors and Shelves
If your LED medicine cabinet has doors or shelves, make sure they are properly installed and aligned. Check for smooth operation and make any necessary adjustments to hinges or shelves.
10. Safety Check
Finally, perform a safety check to ensure everything is securely mounted and functioning correctly. Look for any loose screws, wobbling, or misaligned components and fix them promptly.
Conclusion
Installing an LED medicine cabinet or mirror can be a rewarding DIY project that enhances your bathroom’s functionality and aesthetics. By following these tips and taking your time to ensure accurate measurements and secure mounting, you can achieve professional results. Remember, when in doubt, especially with electrical work, it’s always best to consult a professional to ensure safety and proper installation.
