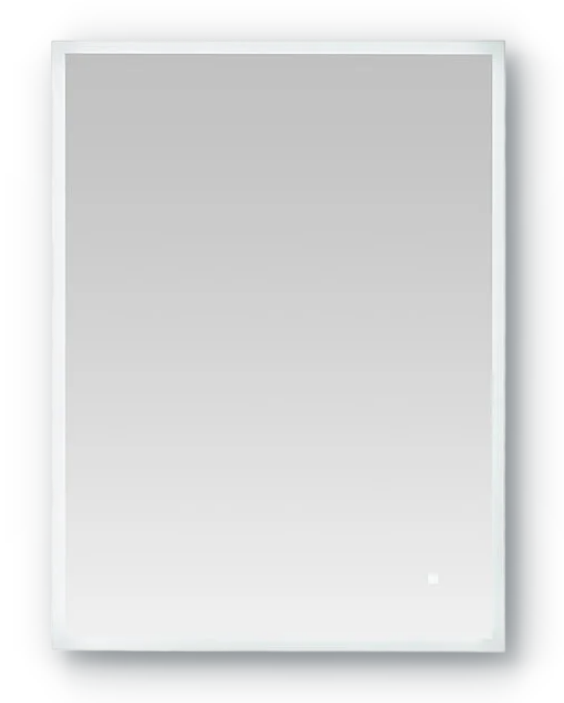
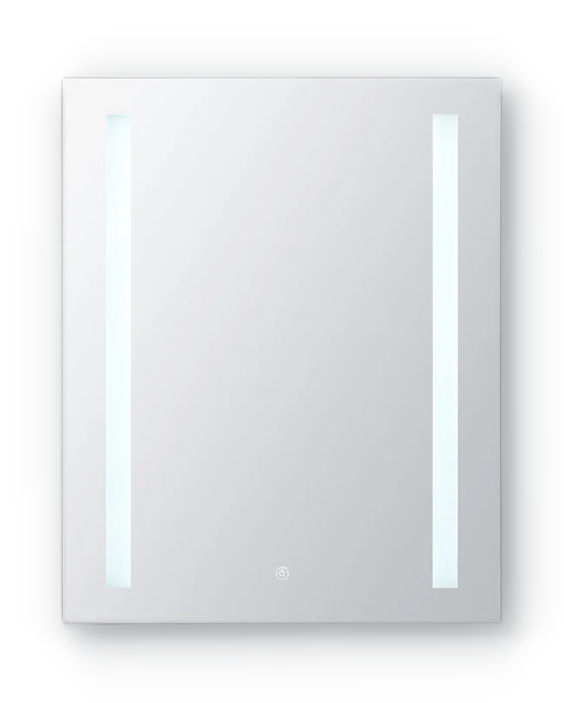

Installing a wall-mounted LED mirror doesn’t have to be a difficult task. Whether you’re a DIY enthusiast or a professional contractor, this step-by-step guide will walk you through the process of installing your AquaDom LED mirror safely and efficiently.
Tools You’ll Need:
- Drill and bits
- Level
- Measuring tape
- Screwdriver
- Wall anchors and screws (included)
- Pencil for marking
Step 1: Unpack and Inspect Carefully unbox your LED mirror and inspect it for any damage. Make sure all mounting hardware is included.
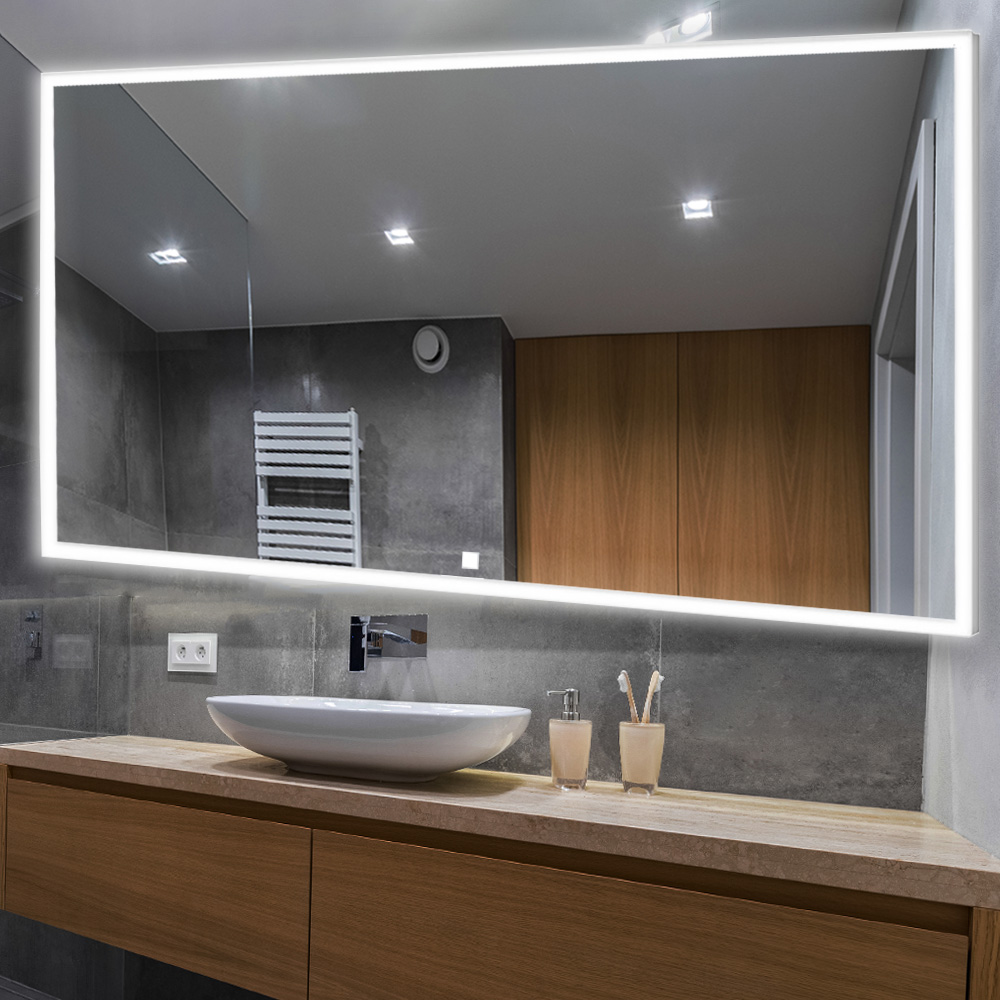
Step 2: Choose the Right Height Decide on the mounting height based on mirror size and user height. Most mirrors are centered at eye level (around 60 inches from the floor).
Step 3: Mark and Drill Holes Use the included mounting template to mark holes on the wall. Use a level to ensure the mirror will be straight. Drill pilot holes at the marked points.
Step 4: Insert Wall Anchors If mounting on drywall, insert wall anchors for extra support. For tile or concrete, use appropriate anchors for your wall type.
Step 5: Attach Mounting Bracket Secure the mirror’s mounting bracket to the wall using screws. Make sure it’s tightly fixed and level.
Step 6: Hang the Mirror Carefully align and hang the mirror on the bracket. Connect any electrical wiring if your mirror includes lighting or other powered features. Ensure connections are secure and up to code.
Step 7: Test Functions Turn on the power and test all functions—lighting, defogger, Bluetooth, etc. Adjust brightness or settings as needed.
Conclusion Your AquaDom LED mirror is now installed and ready to elevate your bathroom space. With proper tools and safety steps, this upgrade can be completed in under an hour.


