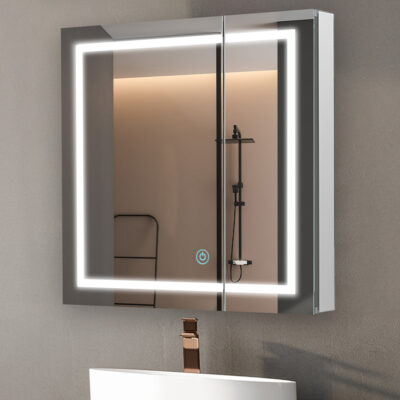
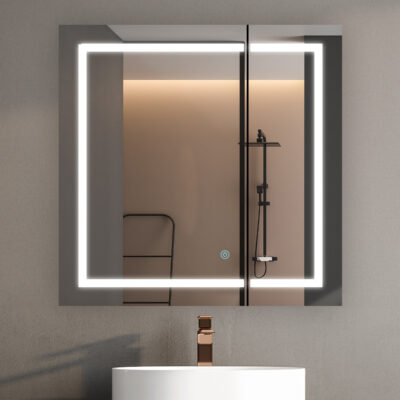
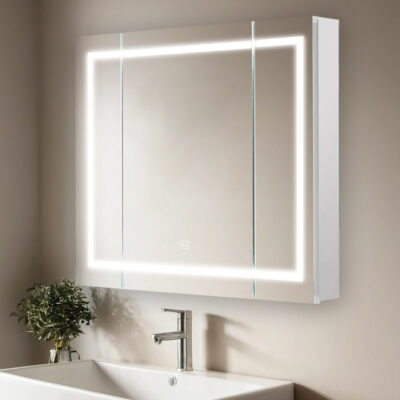
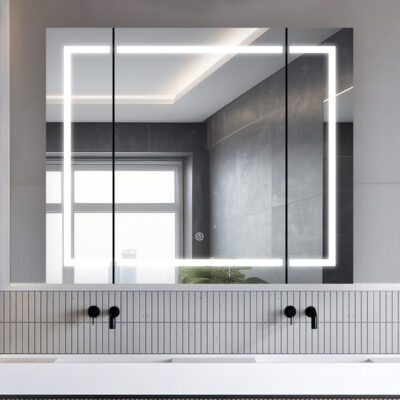
Installation Video Guide for Medicine Cabinets
Max2026-02-02T15:31:10-05:00Medicine Cabinet Installation Instructions
Please Read Before Removing Mirror/Cabinet out of the Box
When Removing the Mirror/Cabinet out of the box
DO NOT
Place the Mirror/Cabinet on the Bare Floor or on any other Hard Surface. Use the top lid of the box to stand or lay the Mirror/Cabinet down flat. This will act as a safety Barrier between the surface and the Mirror/Cabinet so that the CORNERS DO NOT CHIP. Please be very careful during installation do not to Bang any Corners against the Walls or and other objects. All Physical Damage Claims must be made within 48 Hours of receiving this product, No Physical Damage Claims will be accepted after installation. NO EXCEPTIONS.
Please report all claims to:
or Call:
1. Unpacking and Preparation:
- Open the packaging carefully to avoid damaging the cabinet or its components.
- Check that all parts, such as brackets, screws, and other hardware, are included.
- Gather necessary tools, including a level, drill, screwdriver, measuring tape, and safety gear.
2. Site Preparation:
- Select a location on the wall where the cabinet will be installed.
- Ensure the area is free from obstructions and can support the cabinet’s weight.
- Measure the height and mark the location using a level to ensure accuracy.
3. Mounting Brackets:
- Locate the mounting points on the back of the cabinet.
- Mark the positions on the wall corresponding to the mounting holes.
- Drill pilot holes at the marked locations and install the wall brackets securely using screws.
- Confirm that the brackets are level and firmly attached.
4. Hanging the Cabinet:
- Align the cabinet with the mounted brackets and carefully lift it into place.
- Ensure the cabinet sits securely on the brackets and check for stability.
- For additional security, use screws to attach the cabinet to the brackets or wall studs.
5. Connecting the Lighting (if applicable):
- Important: Turn off the electrical power supply before proceeding.
- Locate the electrical connection points on the cabinet and wiring in the wall.
- Use wire connectors to join the wires securely, matching colors (e.g., black to black, white to white).
- Secure the connections with electrical tape and check for any loose wires.
6. Door and Shelf Adjustments:
- If the cabinet includes adjustable shelves, place them at the desired heights.
- Check that the cabinet doors are aligned properly. Adjust hinges as needed to ensure smooth operation and even gaps.
7. Final Checks:
- Inspect the overall installation to ensure the cabinet is securely mounted.
- Tighten any loose screws and verify the stability of the structure.
- Test all features, including lighting and door mechanisms.
8. Cleaning and Maintenance:
- Clean the cabinet surface with a damp cloth to remove fingerprints or debris.
- Review the user manual for maintenance tips and safety guidelines.


Why Choose Us?
Energy Efficiency
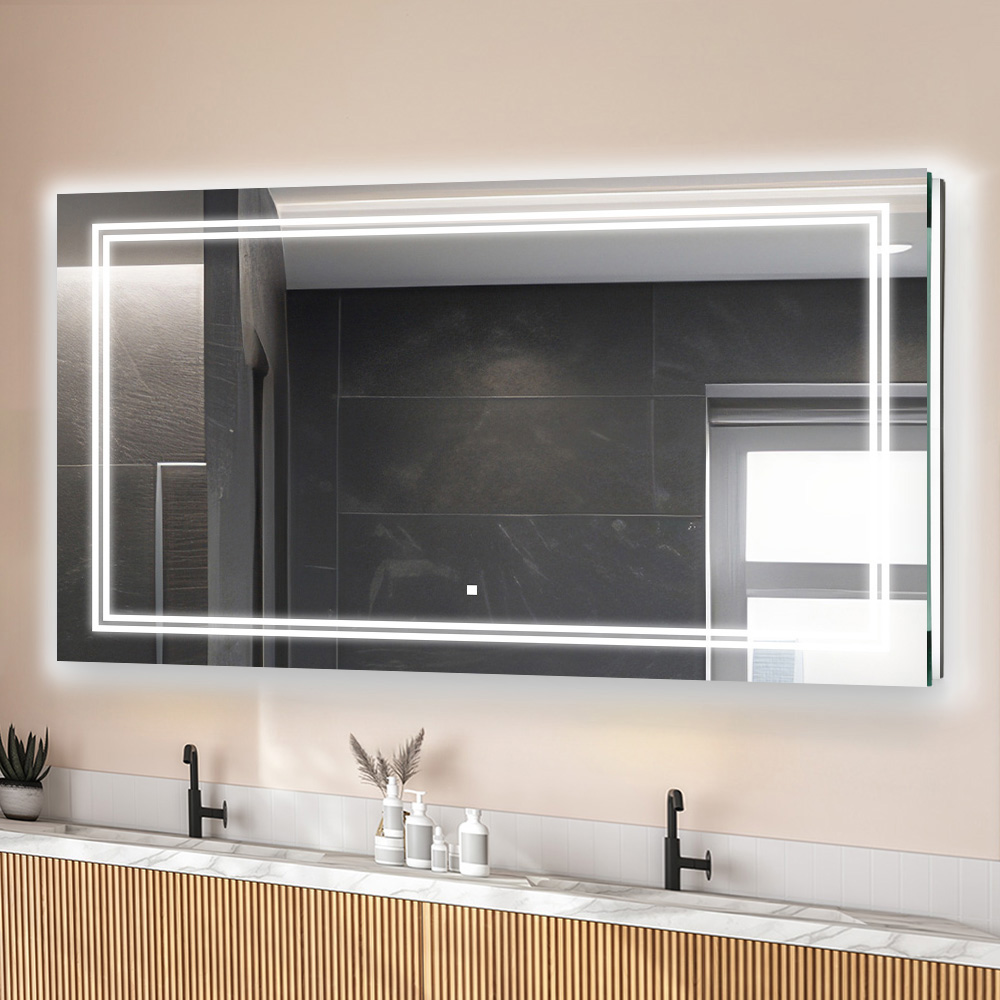
Save on energy costs with our efficient LED lighting that only uses what you need.
Enhanced Visibility
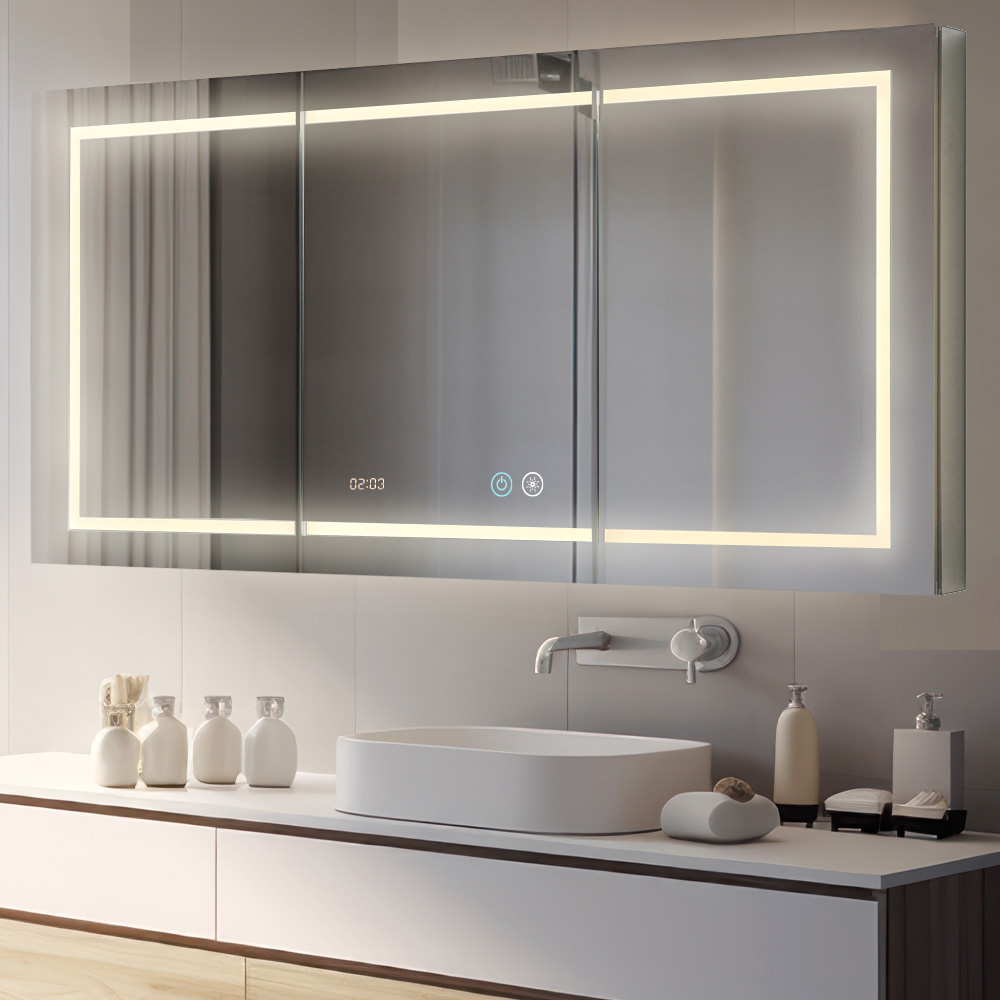
Our lighting solutions adapt to your needs, providing the ideal illumination from bright task lighting to a soft ambient glow for any occasion.
Sleek Design
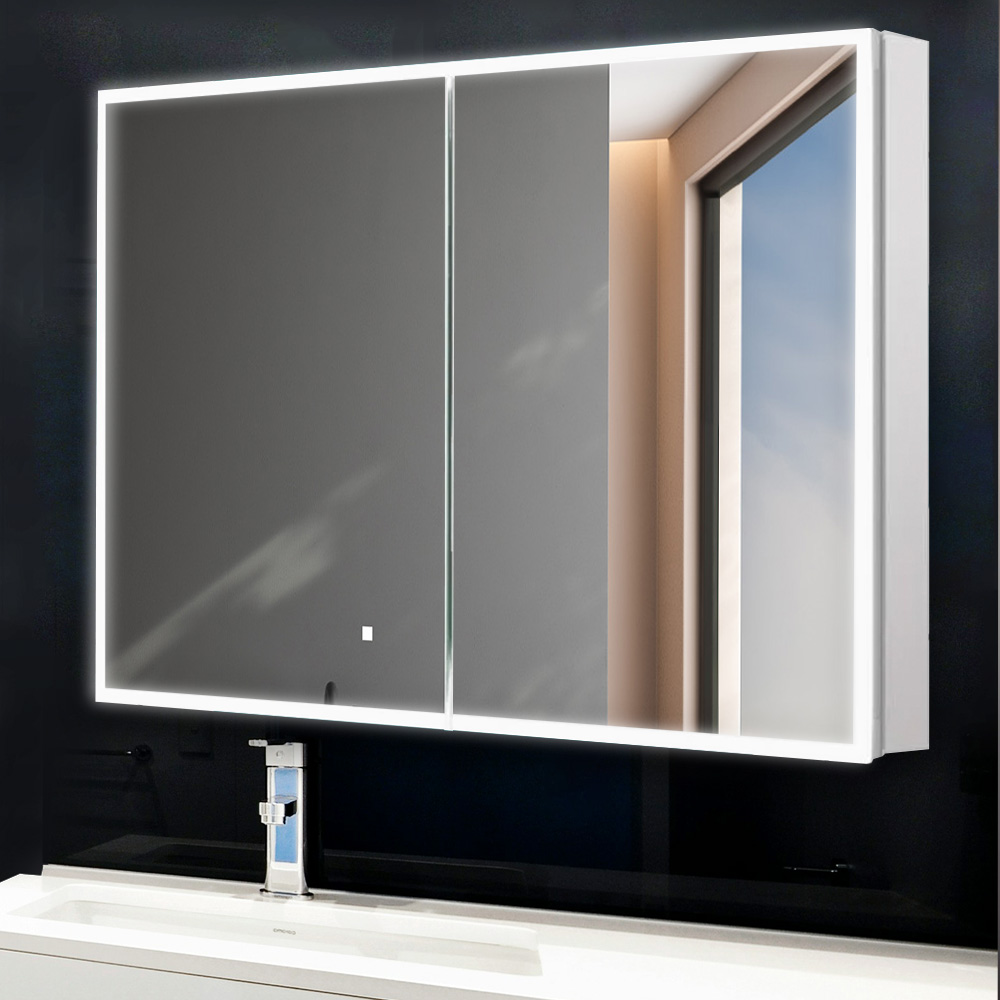
Aquadom products are crafted with a focus on sleek, modern aesthetics that complement any bathroom decor while delivering exceptional functionality.
-
36 Inch Medicine Cabinets, LED Medicine Cabinets, Royale Plus
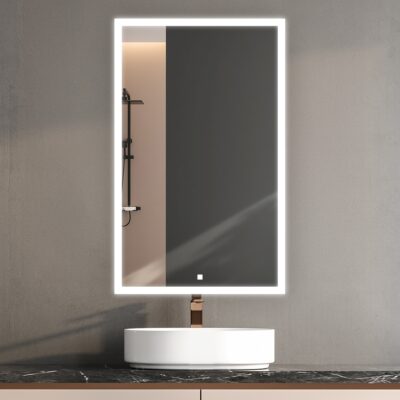
Royale Plus 36×36 LED Double Door Lighted Medicine Cabinet
$1,700.004.86 out of 5-
-
LED Medicine Cabinets, 48 Inch Medicine Cabinets, Royale Plus
Royale Plus 48х30 LED Triple Door Lighted Medicine Cabinet
$1,980.005.00 out of 5-
-
LED Medicine Cabinets, Edge Royale, 24 Inch Medicine Cabinets
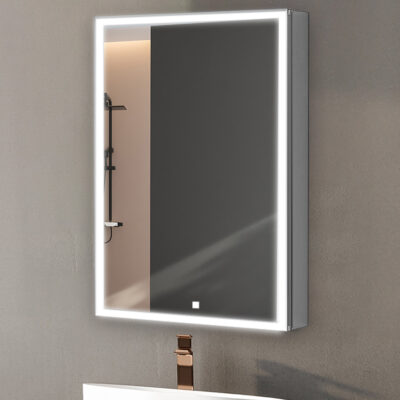
Edge Royale 24×32 Left Hinge LED Lighted Medicine Cabinet
$980.005.00 out of 5-
-
LED Medicine Cabinets, Royale Plus, 24 Inch Medicine Cabinets
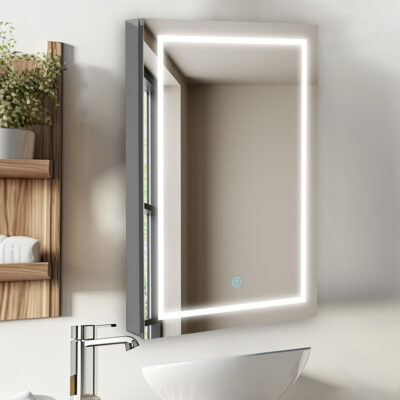
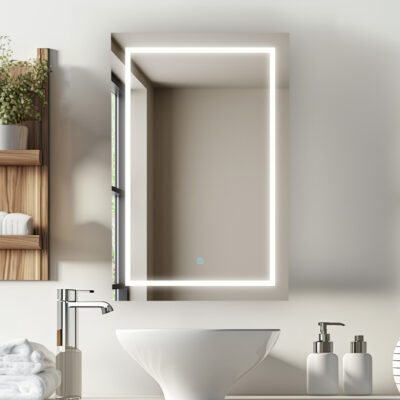
Royale Plus 24×30 Left Hinge LED Lighted Medicine Cabinet
$960.005.00 out of 5-
